Cleaning Hardwood


Floor cleaning tips that keep your hardwood beautiful for years!

Hardwood Flooring can bring an authentic warm beauty and value to your home. Follow these recommendations to enhance the performance of your hardwood floor! This will prolong the lifetime of your materials and ultimately protect your investment. It is durable and with the right care, it can last for decades! Proper Maintenance is essential, and can be quick and easy!

Step One: Eliminate Debris

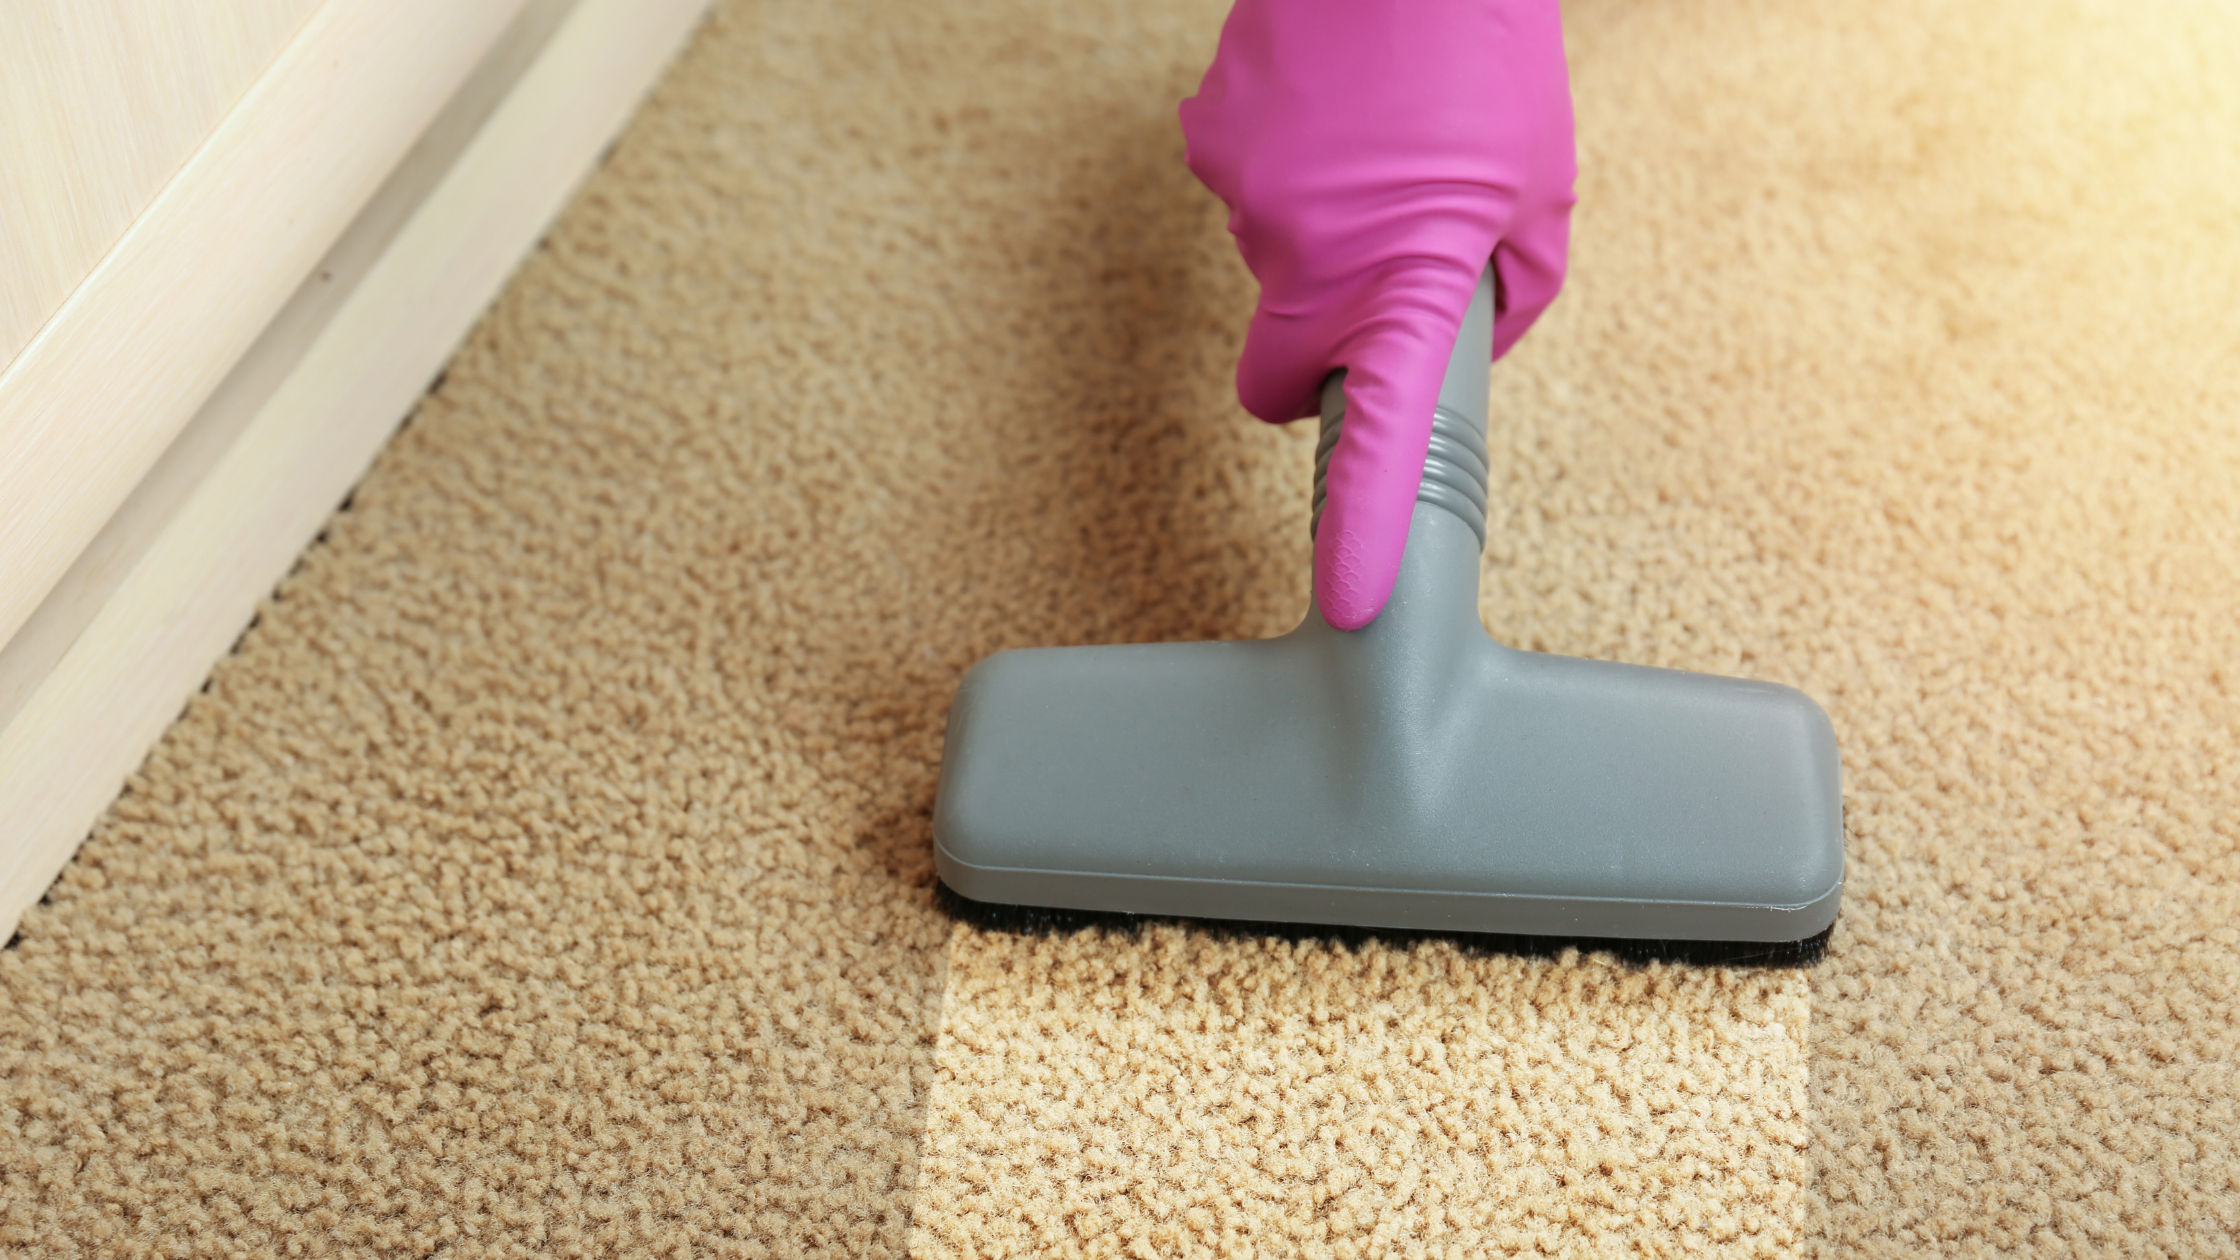
Before we get your floor to shine as it did when it was brand new, we have to be sure the flooring is completely clear of any dirt, dust, and debris that has accumulated over time. This routine cleaning involves sweeping, dust mopping, or vacuuming using the bare floor setting. How often you do this will be dependent on how trafficked the area is or if you have pets or children in the home! Typically it is best to do this at least once a week!

Step Two: Deep Clean

Once your area is dust free you are ready to remove all the buildup and grime that has settled. It’s best to use a cleaner made specifically for the finish on the floor. Most hardwood manufactures recommend Bona® Hardwood Floor Cleaner. When using a cleaning product for hardwood always be sure to refer to the directions on how to use, so that you do not damage the finish on your flooring! The old vinegar and baking soda will also do the trick!

After you have your cleaning solution ready it’s time to get down and dirty! Dip a hand sponge or sponge mop into the cleaner and ring it out thoroughly to eliminate any excess water! The goal is the get the mop damp rather than wet. Continue to mop and rinse until the water becomes clear again.

Sometimes light scratching can turn into a deep cavity. If this is the case you can use wood putty rather than just a stain pen. This play-dough like substance can be used to fill the hole as if it was never there. We recommend wood putty for deep scratches, nail holes, and imperfections in the flooring. These products can be found at local hardware stores as well as through big box stores such as Lowe’s and Home Depot.

Step Three: Polish it Off

Now that everything is mopped, you must be sure to take a clean towel and dry up any areas that have excess moisture or liquid so that it does not damage the integrity of the flooring. The next step is dependent to what type of finish your hardwood flooring has.

If you have a floor with a matte finish, you are finished after you dry the area with the clean towel! For floors that have a high gloss or sheen you may want to use a wood polish for a deep shine and follow the manufacturer’s instructions for use. Some people also like to use boiling water with two tea bags. The tannic acid in the tea reacts with your hardwood to create a beautiful natural shine.

Hardwood Tips + Tricks

Although hardwood can be everlasting when taken care of properly, it can still endure dings, dents and scratches over time. This can be frustrating as well as unappealing to look at.

To prevent these things from happening we recommend using door mats to eliminate the amount of dust or moisture tracked in, throw rugs in frequented areas to protect the finish, and floor protectors on furniture to keep from scratching.

If you already have some spots in your flooring that bother you, NO FRET! Wood is a raw material that can be easily repaired under the right circumstances. For scratches that show up on the floor we suggest finding a wood stain pen that matches and just coloring the scratch. Most hardwood has a variation of colors in the stain so we suggest finding two that match your color the best so you can use them in the areas necessary and it will look completely natural. .

 Cleaning Carpet

Carpet can add comfort to your home especially in bedrooms, offices, play rooms, storage areas and more! It is also a great way to save on the cost of your flooring as the materials are typically less than any hard surface available.

Routine Cleaning

Carpet requires a deep cleaning every 12 to 18 months, however, allowing dust, soil particles, and other debris to sit on your carpet will only cause it to look dull and retain odor. You will want to be sure to follow a routine cleaning to extend the life of your carpet!

For a stain, gently clean up as much as you can with a spoon, or a dull knife, then add water and blot, using dish detergent sparingly if needed. Once you have wiped the spot, use a vacuum on the strongest suction setting to clean the area. If the spot remains after cleaning, moisten tufts in the stained area with 3% hydrogen peroxide and let stand for one hour. Blot and repeat until completely clean. If a stain remover is needed, use a product approved by The Carpet and Rug Institute of America. Apply several drops to a clean white cloth and blot the carpet in an inconspicuous area. If you notice a change in the carpet color, consult a professional carpet cleaner. For extensive water damage, consult professional cleaners to dry your carpet from the front to back.

If your has a burn, simply remove the singed area with curved fingernail scissors. If the burn is extensive, you may need to patch or replace it.


You will want to vacuum your carpet at least once a week to keep things from embedding into the fibers. It could be more often than that if you have children or pets in your home! The type of carpet you have will determine the vacuum setting you want to use. You will use the lowest setting for bare or low pile carpet, a medium setting for plush carpet, and the highest setting for a high pile, shag carpet. While vacuuming, there should be minimal resistance- if it is hard to push and pull change the setting!

Use scissors to clip sprouts and snags! Try to refrain from pulling them with your fingers—you might damage the carpet further and it will be more visible. Remove heavy furniture dents by stroking the dented area with the edge of a coin. You can also loosen the fibers by using a hair dryer or a steam iron, but be very careful not to touch the carpet with the iron.


Vinyl Cleaning : Sheeting, Planks, Tiles


Vinyl Sheeting (Linoleum)

When cleaning vinyl sheeting, use a soft bristle broom to remove loose dirt and then use a damp mop or spray mop such a a Bona or Swiffer to clean any residues that have adhered to the surface. You will want to use a cleaning solution that is meant for vinyl flooring and follow the manufacture’s directions to use. It is important to use the correct solution for vinyl as it will be a different ratio than a hardwood, or a ceramic cleaner to prevent leaving a film on the floor.

You will want to avoid any wet mopping, or steam cleaning as this can cause the glue underneath to melt and the floor could bubble or start folding around the edges. Since this type of flooring is in one sheet you will want to use furniture pads and floor mats to protect your flooring from scratches and tears. Always be sure to lift furniture completely off of the floor when moving it to refrain from tearing your material.


Vinyl Tiles + Planks

Similar to cleaning vinyl sheeting, you will want to sweep with a soft bristle broom and then use a damp or spray mop to clean the flooring. The same vinyl cleaner can be used on sheeting, planks, and tiles as they are all the same materials, just manufactured differently!

Vinyl Planks and Tiles typically have a thicker wear layer than the sheeting does, so it may clean up easier dependent on what types of textures your flooring may have.

Some styles have a bevel which is the place in which you see the planks connect. A concern that is brought up more often than not is if this bevel makes the flooring harder to clean? The answer is NO! Of all the products we have installed in the past with the bevel have never had a complaint. Although this product is durable, we suggest avoiding a vacuum with a beater bar.

Vinyl Planks and Tiles are one of the easiest products to clean and upkeep!


Vinyl Sheeting


Glue Down LVP