How to prepare your home for the day of flooring installation.
Whether it be part of a larger remodel, or just a quick update to your space, purchasing new flooring is always exciting. Likely it is an investment you have been wanting to make and the time has finally come to get ready for installation!
Home projects can be overwhelming, and properly preparing your home will help calm your stress on installation day. Continue reading to learn the best steps to take to prepare your home for your new flooring installation!
Lived In Homes
#1CLEAR THE AREA:
If you are redoing the flooring in a particular part of the house and have a place to store your belongings, it is ideal to have everything moved there before your installation date.
To set your install crew up for success, it is essential to:
Remove all items from the floor
Remove any breakable items from shelves, or walls
Make prior arrangements to move sizable items
Refrigerator, Stove, Washer, Dryer, Pool Table, Piano, ETC.
Cover anything in the home you do not want to get dusty/dirty
*Bonus Points if you pull the toilet if you are getting a bathroom done!
#2 CREATE A DESIGNATED WORKSPACE:
Sawdust is inevitable and its likely a cleaning will be necessary after your new flooring is installed, so providing a designated work area helps keep this to a minimum. There will need to be a large enough space to set tools the installers use to resize materials. A garage, empty driveway, or even deck is ideal. By providing a clear workspace you set your installers up for seamless work and less downtime.
*Bonus points if you can direct a designated area to store your materials outside of the area where the flooring is being installed!
#3 PROVIDE FURNITURE PADS:
Once your new flooring is installed you will be eager to move all of your furniture back to where it was and reset the rooms. Whether this be an add on you have asked of your installers, or something you plan to tackle when they are gone, we highly recommend using furniture pads.
Furniture pads will protect your beautiful new flooring from any scuffs or scratches!
*Bonus points if you already have them attached to your furniture!
#4 PREPARE FOR THE UNEXPECTED:
This step especially applies to anyone who plans to tear out existing floor before installation. Sometimes you run into small issues, like leveling, or small gaps. Other times you run into issues like water damage, mold, or rotting in a subfloor. No matter how big or small the issue may be, it is important to be prepared to tackle them head on so that it doesn’t push you back in your installation process.
For leveling or gap issues, it is recommended to patch those areas to a smooth surface with Feather Finish. Some installers can handle some subfloor issues, but otherwise you will want to hire a contractor to repair those before your new flooring goes down.
*Bonus points if have patience with your contractors during the unexpected!
*If you need to patch your floor, here is a link to the feather finish we prefer to use!
New Contruction
#5 COMPLETE ALL OTHER REMODELING
For new construction or remodeled homes, you will want to complete any other inside finishes before the flooring is installed. By painting and trimming the walls, setting cabinets, and having your other finishing touches completed, you will minimize the possibility of the flooring being damaged before move in.
It also will minimize the amount of work crews walking on your new flooring. If everything is mostly done, you should only have your builder or subcontractors being sure all the work is finished.
*Bonus points if you make sure all crews come at different times so no one is on top of each other.
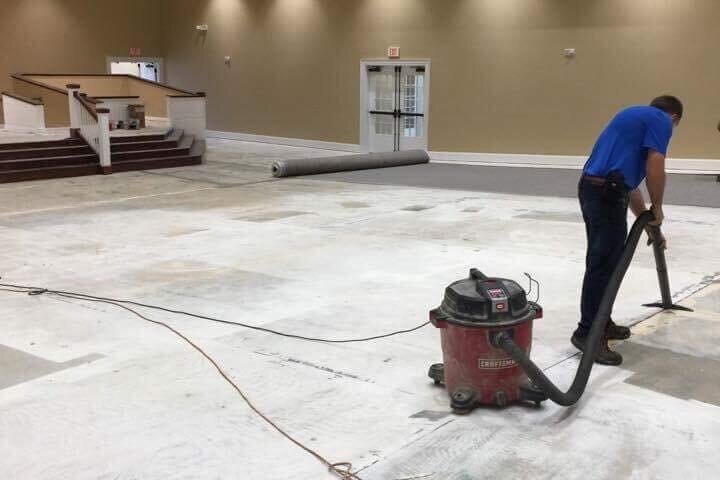
#6 CLEAN THE FLOOR
This step is the most time consuming and tedious of the entire flooring process. Typically remodels and new constructions are a mess by the time the flooring crew is set to come in and they have to clean up after everyone. Installers appreciate any prep done before installation day.
To ensure seamless installation you will need to:
Use a scraper on the subfloor to remove any surfaced staples or dried up plaster
Use a crow bar to remove any loose nails
Sand down uneven joints
Shop vac the entire area until there is no dust or debris
*Bonus points if you do ANY of the following steps before the installers arrive!